
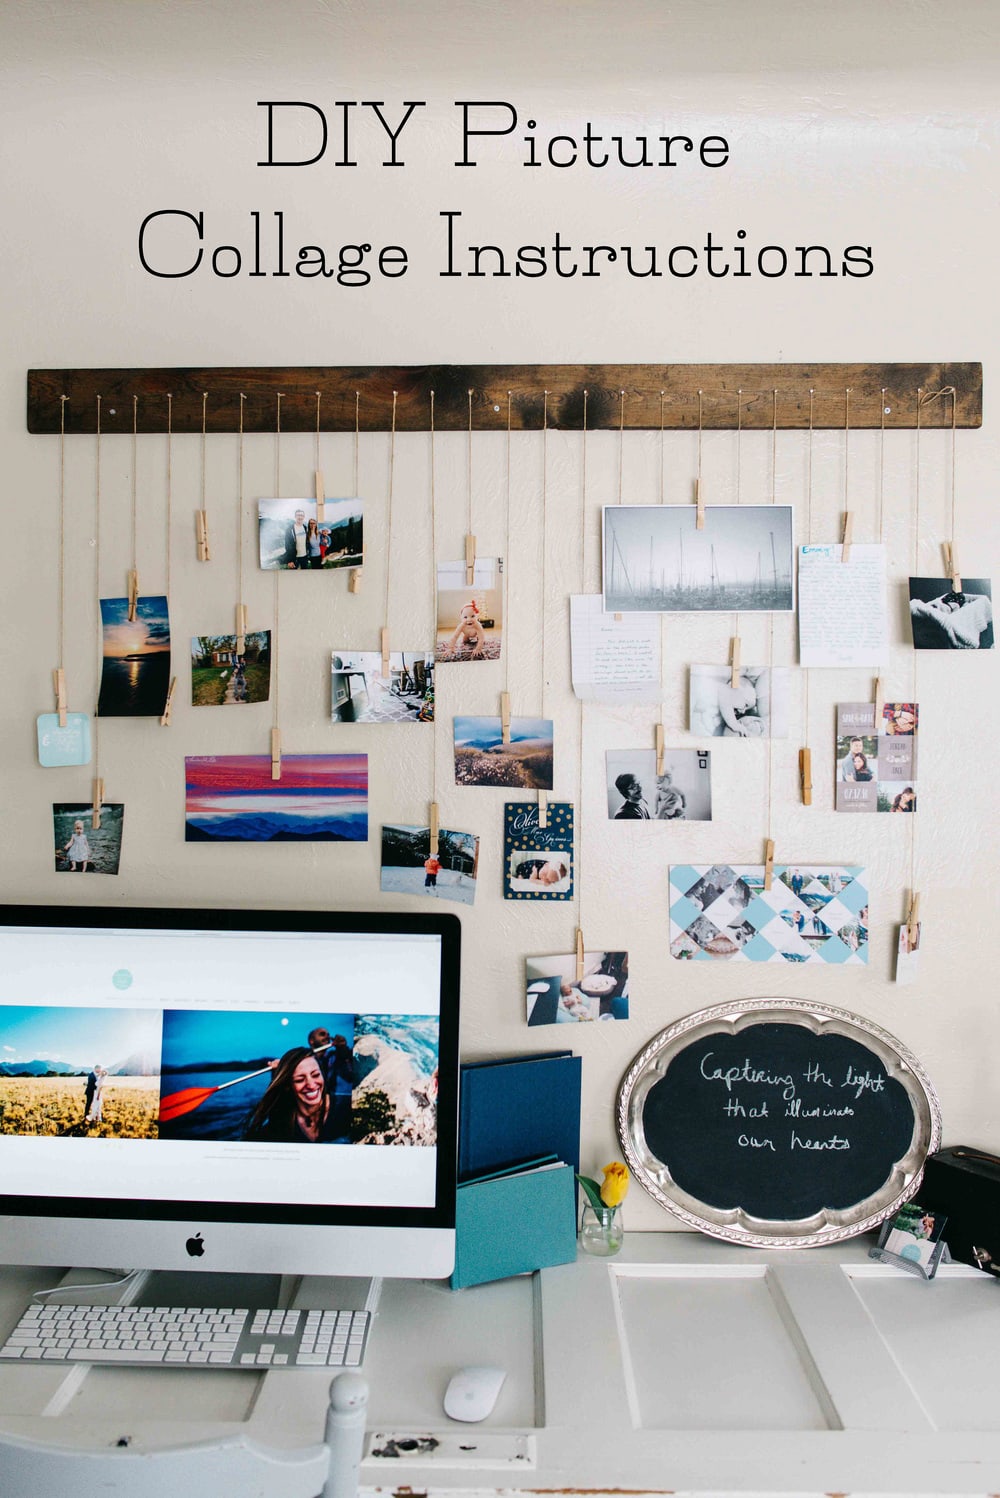
As promised last week when I share what my work space looks like as a mountain wedding photographer, today, I wanted to share with you how my husband and I created this DIY hanging collage. You can see my workspace and DIY door desk.

When thinking of a hanging picture collage we wanted something that would allow us to hang a lot of pictures without taking up a lot of space. We also wanted photos to be out of reach of our toddler daughter and a system that allowed us to change out the photos frequently. We also wanted something affordable.
We saw a million ideas for different size frames and unique collages but let’s be honest frames for 25+ photos are expensive. Also, if you want to change photos out frequently like we do it is annoying to take everything down and figure out which photos looks best next to each other.
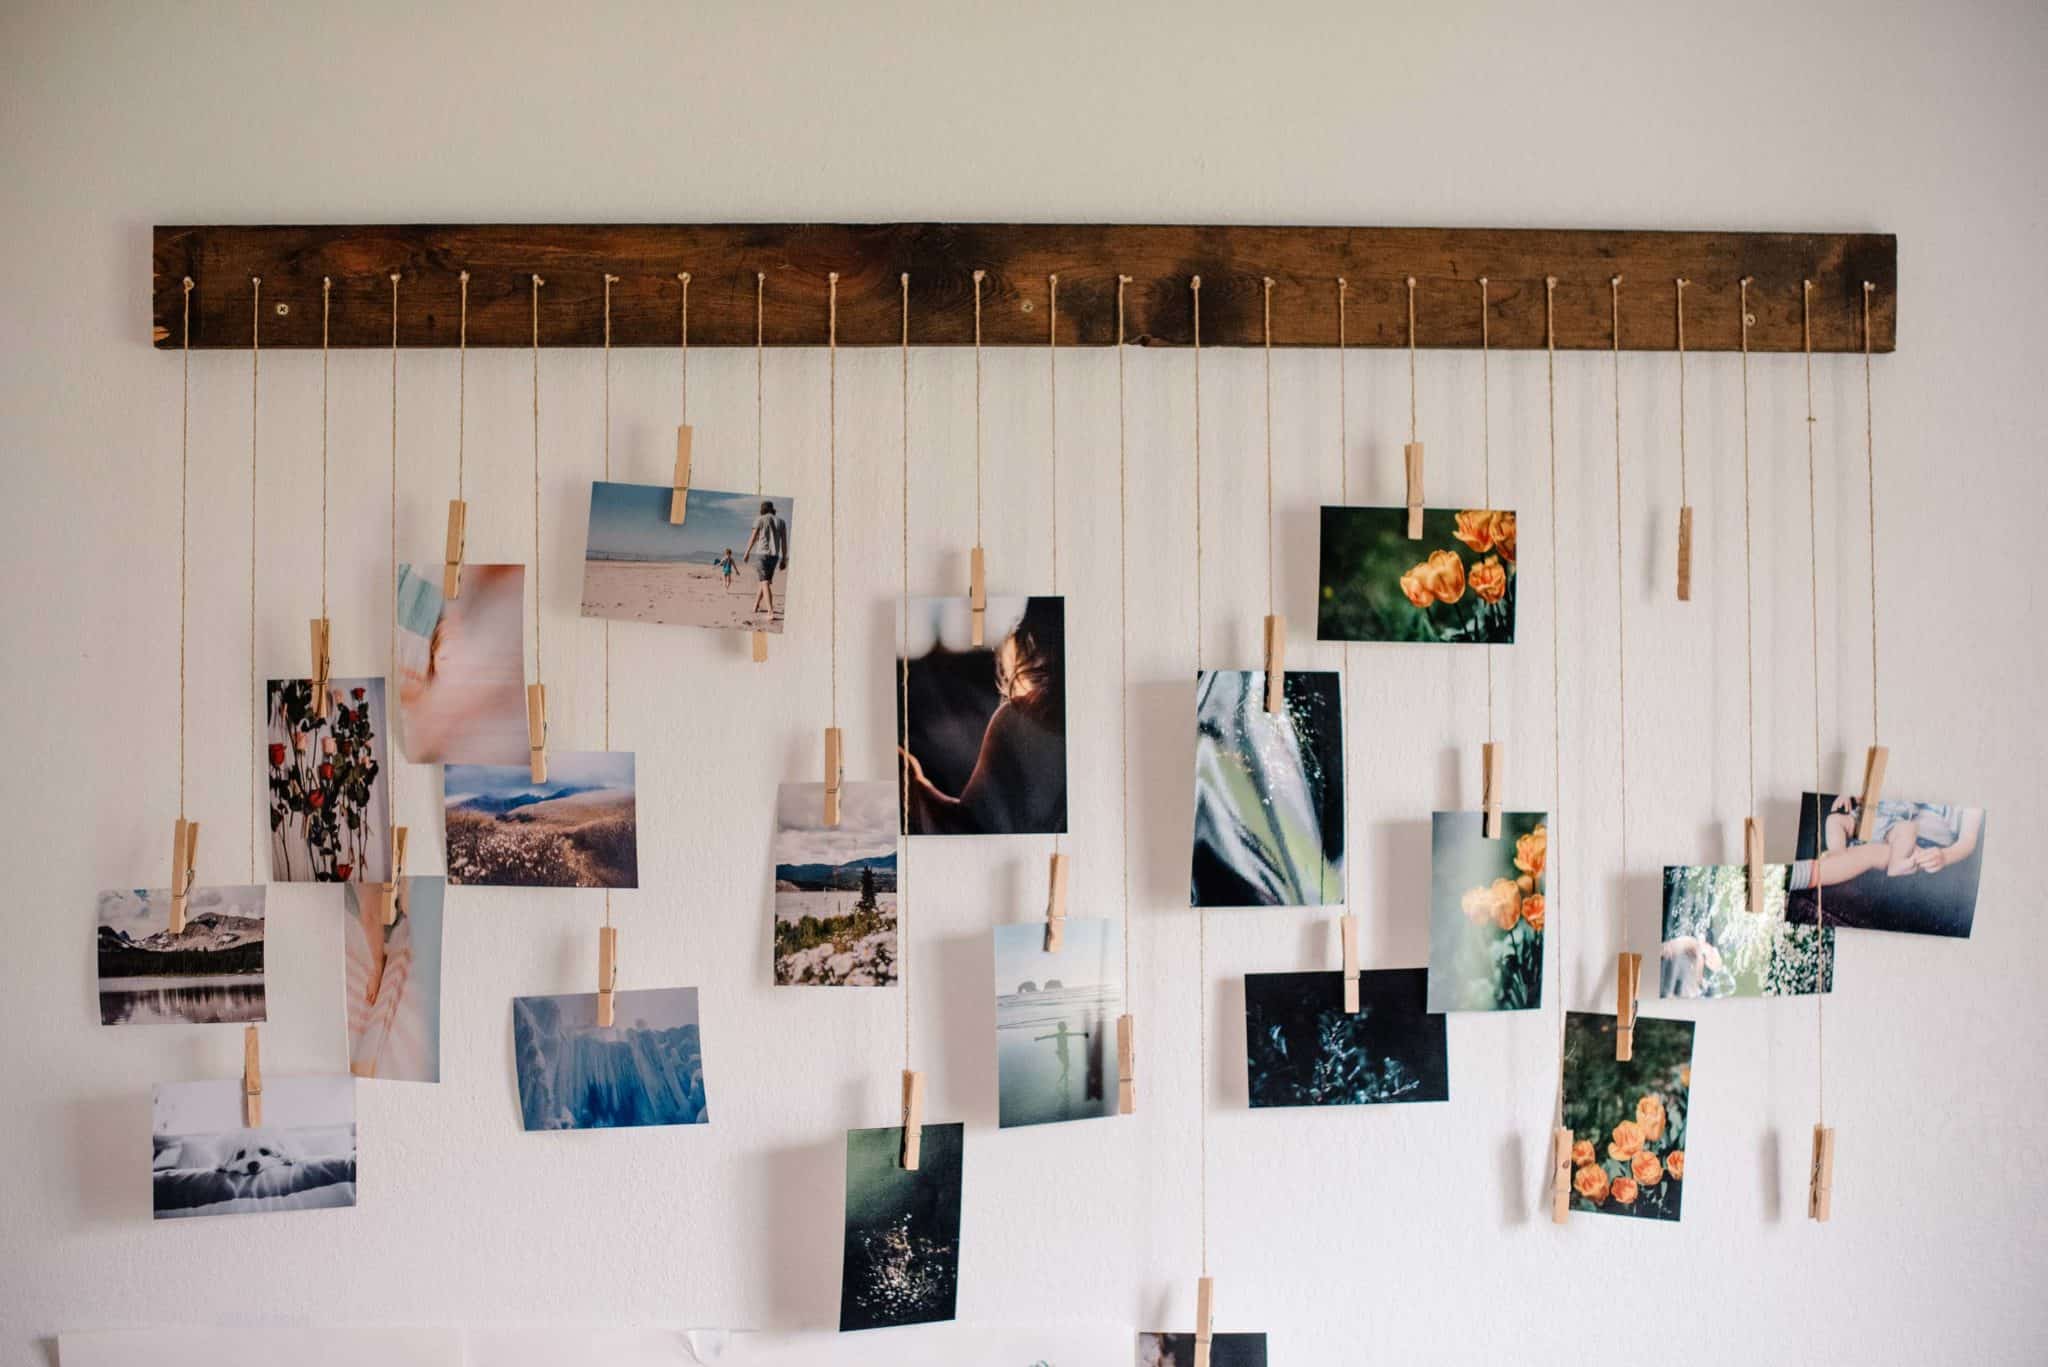
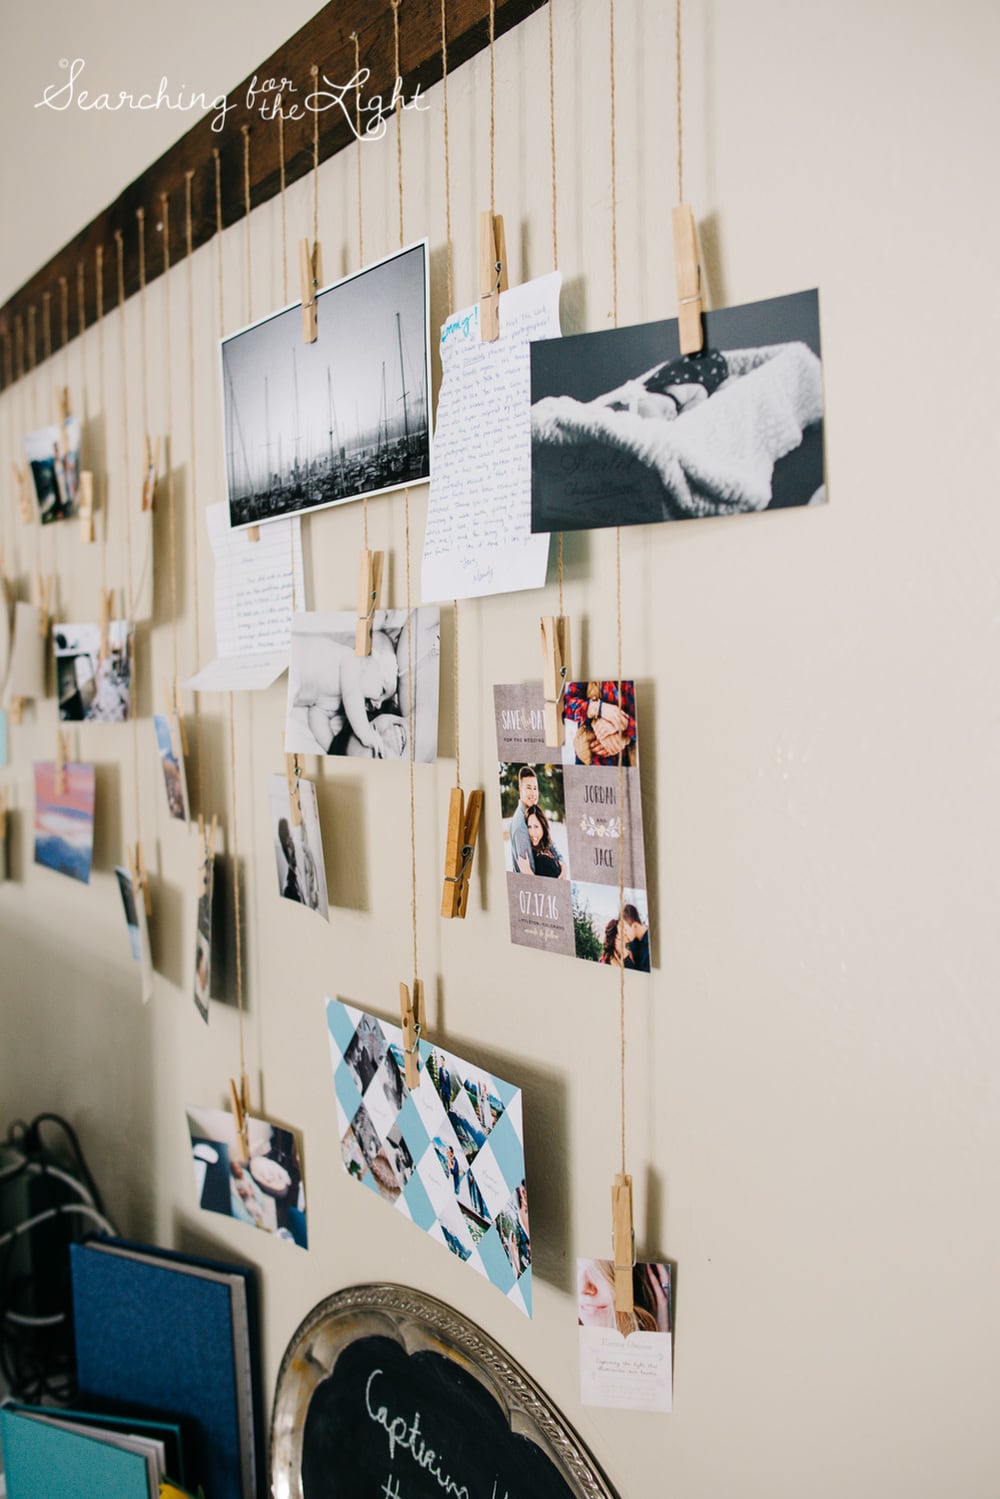
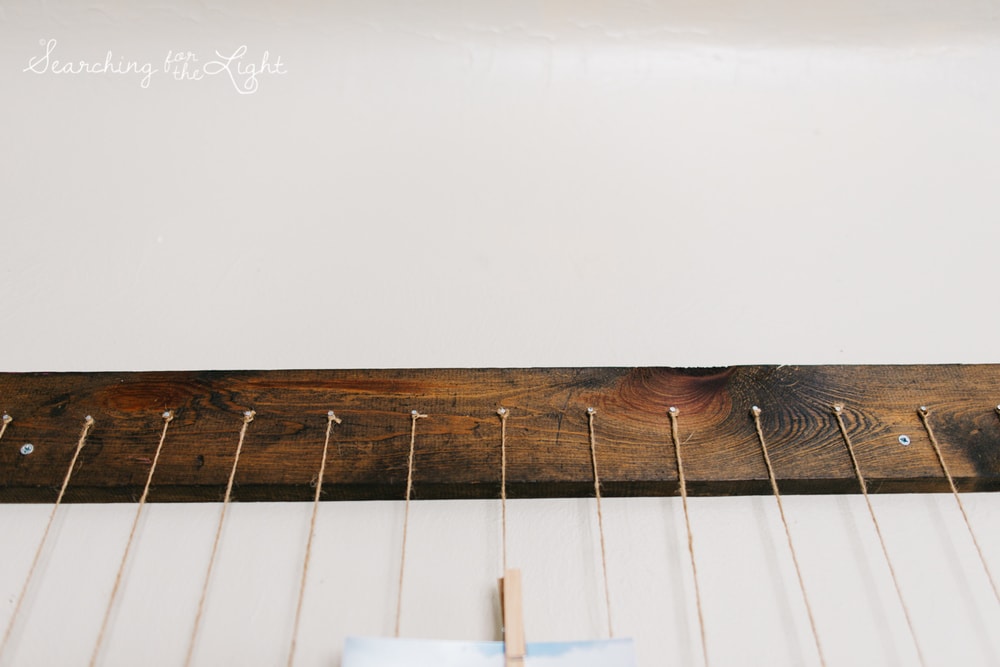
After searching Pinterest for ideas I left my husband to design something. He brilliantly came up with this design of a spare 2×4 with hanging twine which I adore! I love how easily I can change photos out, hang notes from my clients, and even fun promo material I’ve designed.
DIY Hanging Collage Instructions
Materials
- 2×4 or scrap piece of wood
- Sandpaper or electric sander
- Pencil
- Yardstick Ruler
- Electric Screwdriver
- Hammer
- Masonry nails or flat headed nails less than an 1” long but not smaller than ½”
- Twine or string of your choice/color 5-10 yards
- Clothes pins
- Hot glue
- Hot glue gun
- Stain or paint
- 3 Long heavy weight flat head screws 1.25” or longer
- 25-30 clothes pins
Instructions
- Sand down your spare piece of wood
- Laying your piece of wood flat with the thickest base up. Measure up from the bottom to the center of your 2×4 which should be 2 inches. With a long ruler and your pencil draw a straight line from left to right making a temporary center line.
- Starting at the left side of the wood measuring along the centerline measure 2” and mark an X along your center line. Continue until you have 25 X markings.
- Half an inch below your center line measure out three spots for your screws. Mark with an circle. Starting from the left mark a circle at 5” and 26.5” Then from the right side of the wood mark a circle 5” to the left. You should have three circle markings one neither the left and right edges of the wood and one in the center.
- With your screwdriver drill your three screws in the circle markings all the way through the wood.
- Remove screws and set aside.
- Gather your nails and hammer just enough in the X markings to leave an indent but not have the nail completely inside the wood.
- Remove nails so an intent is left.
- Clean and prepare for stain or paint.
- Paint or stain following products instructions, apply second coat if necessary.
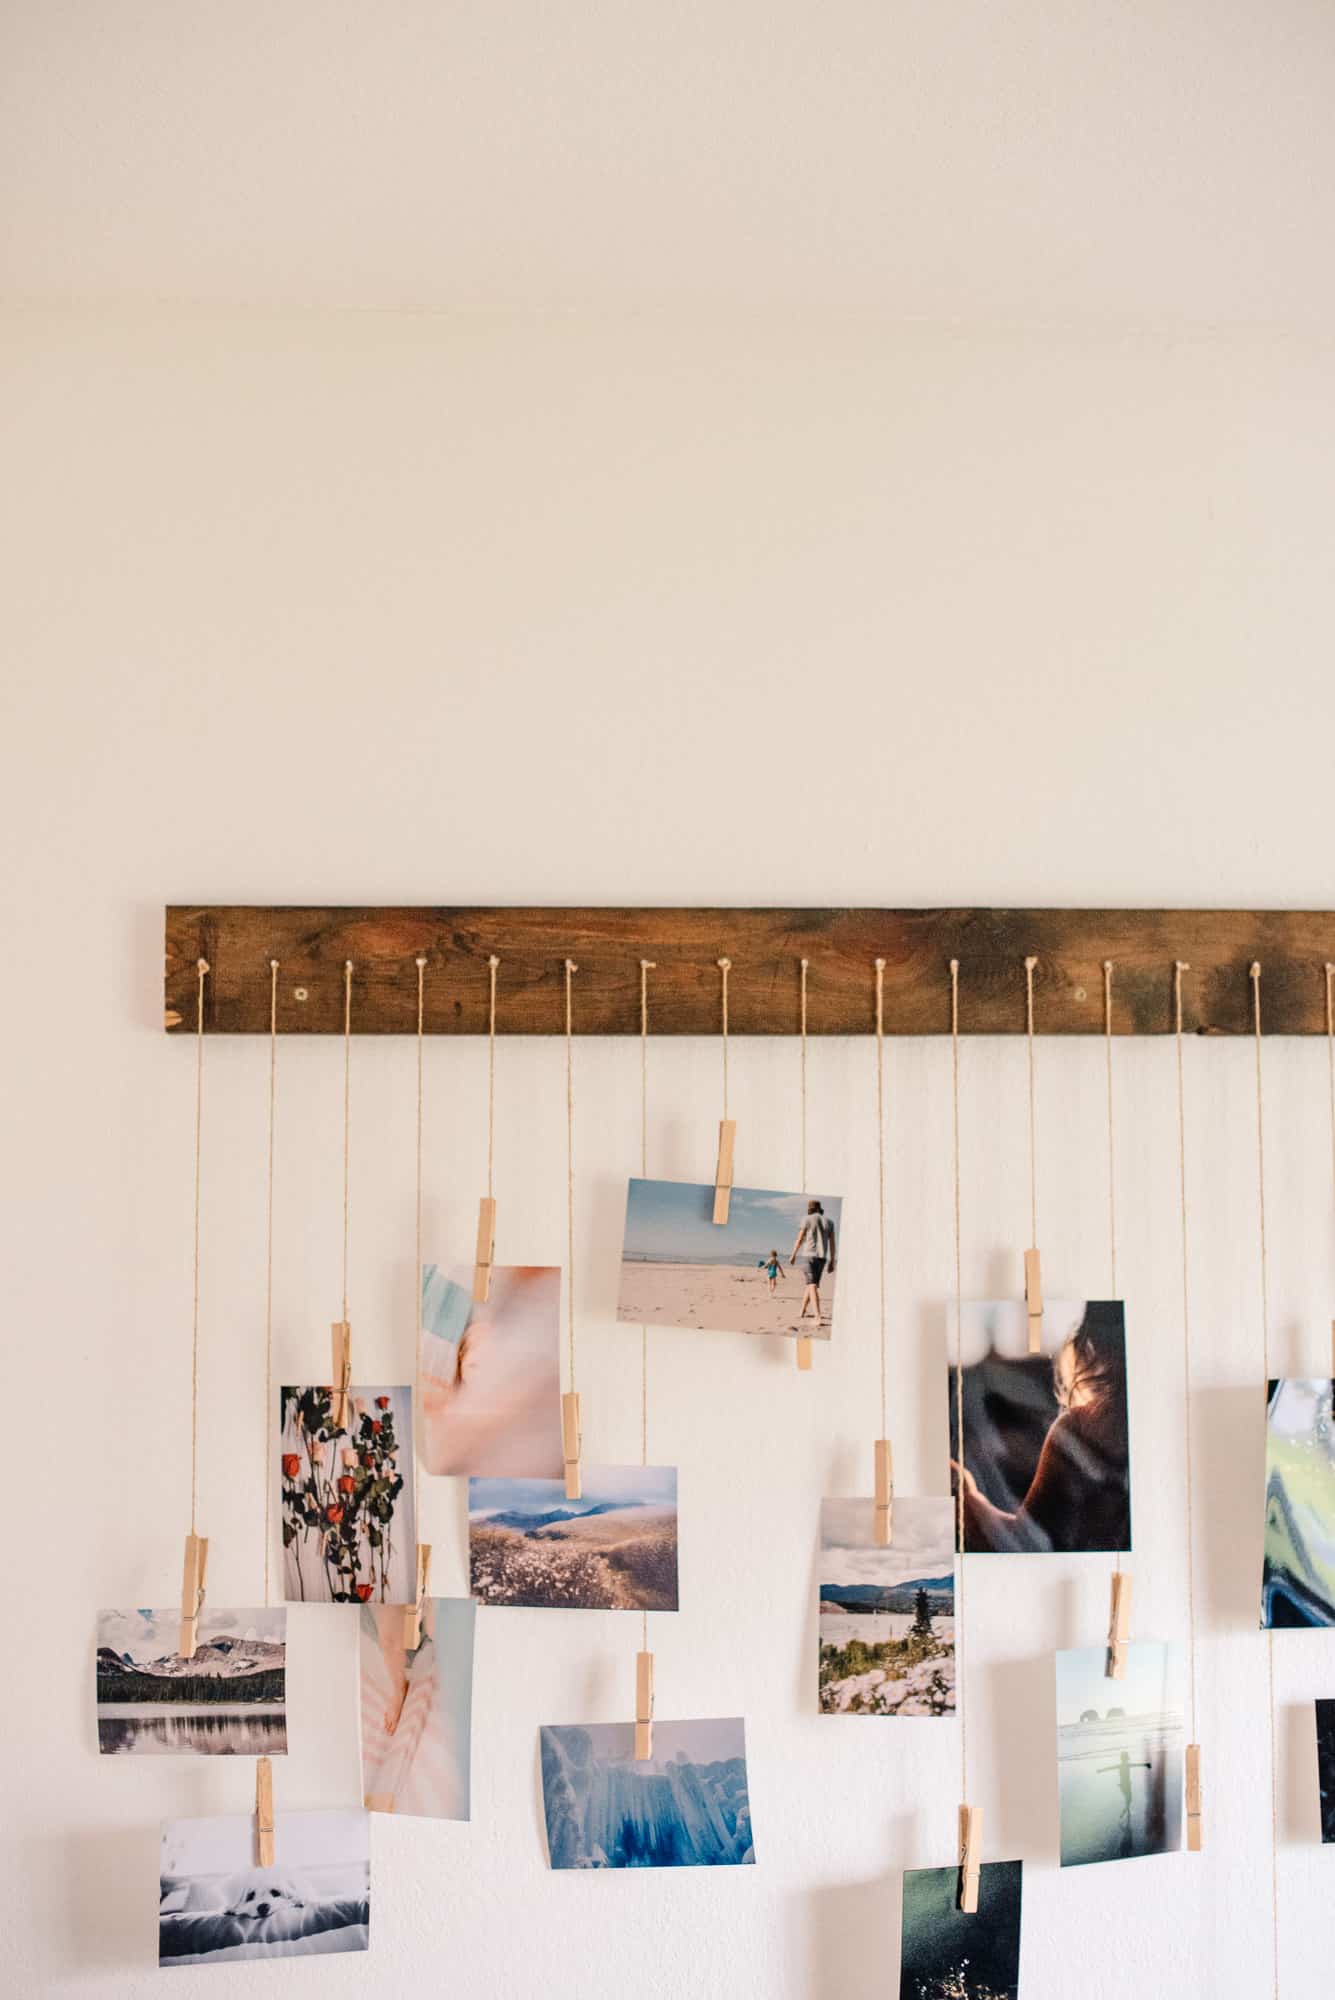
- Once your wood is completely dry hammer your nails through the wood leaving a half a centimeter or small gap for the twine or string to tie around the nail.
- Pre-heat your hot glue gun.
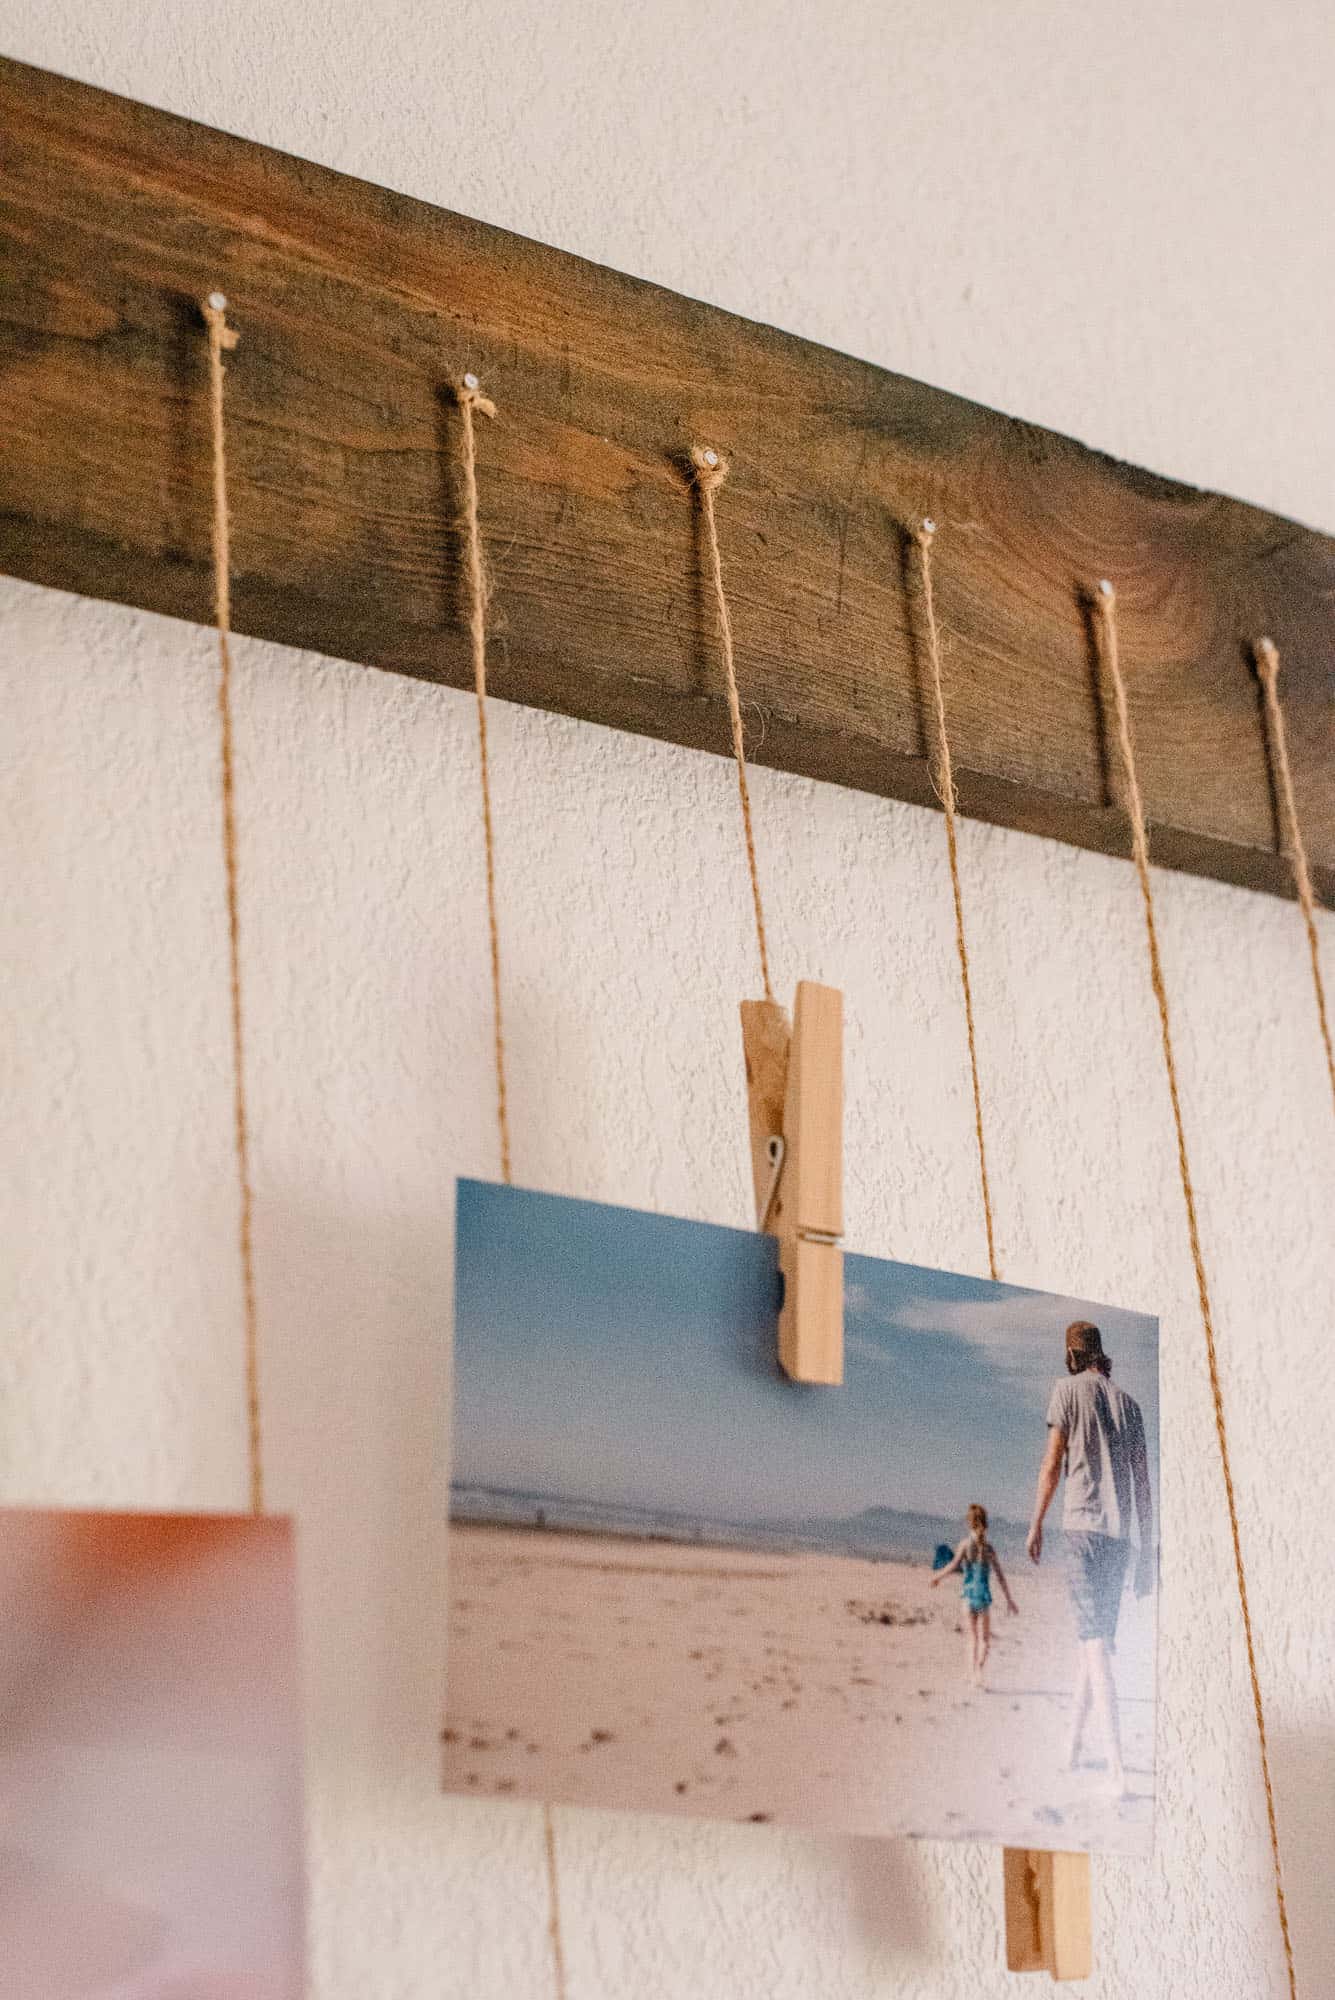
- With your twine double knot one end around your first nail and measure down to the length you desire for your first photo. Cut twine there. Trim excess ends by the nail. Repeat, adding varying lengths to your collage.
- Hot glue the twine to the inside of the handles of your clothes pin so a photo can be pinched at the bottom of the clothes pin. Repeat on all your hanging twine.
- Place your collage on the wall: With your screwdriver and screws start screwing with the center screw. Screw in so it will hang but not tight enough you cannot adjust. Use a level to make sure your collage hangs level before. Screw in your two side screws. Use a level again to make sure its straight. Once level tighten all screws securely into a wall.
- Hang your pictures and curate your own art or memory wall!
- Alterations: You can use larger or smaller spacing for your photos if you want to use smaller or larger photos. We use 4×6 photos for my collage.


One Response