
I have a DIY problem and a handy husband, which is a perfect combination for living life frugally by upcycling a lot of things. Today, I want to share with you my DIY door desk. And next week I will share my DIY picture collage that outfit my workspace.
Working from home seems so ideal but if you talk to anyone who does it they will tell you it has just as many cons as working in an office or going some place to work. But having control of your work environment and being able to do your dishes between eating lunch is a major perk for my perfectionist personality. Also, I get to be around my daughter more, sure I may not be as present but she’s with me, her mama, and for that I’m so thankful!
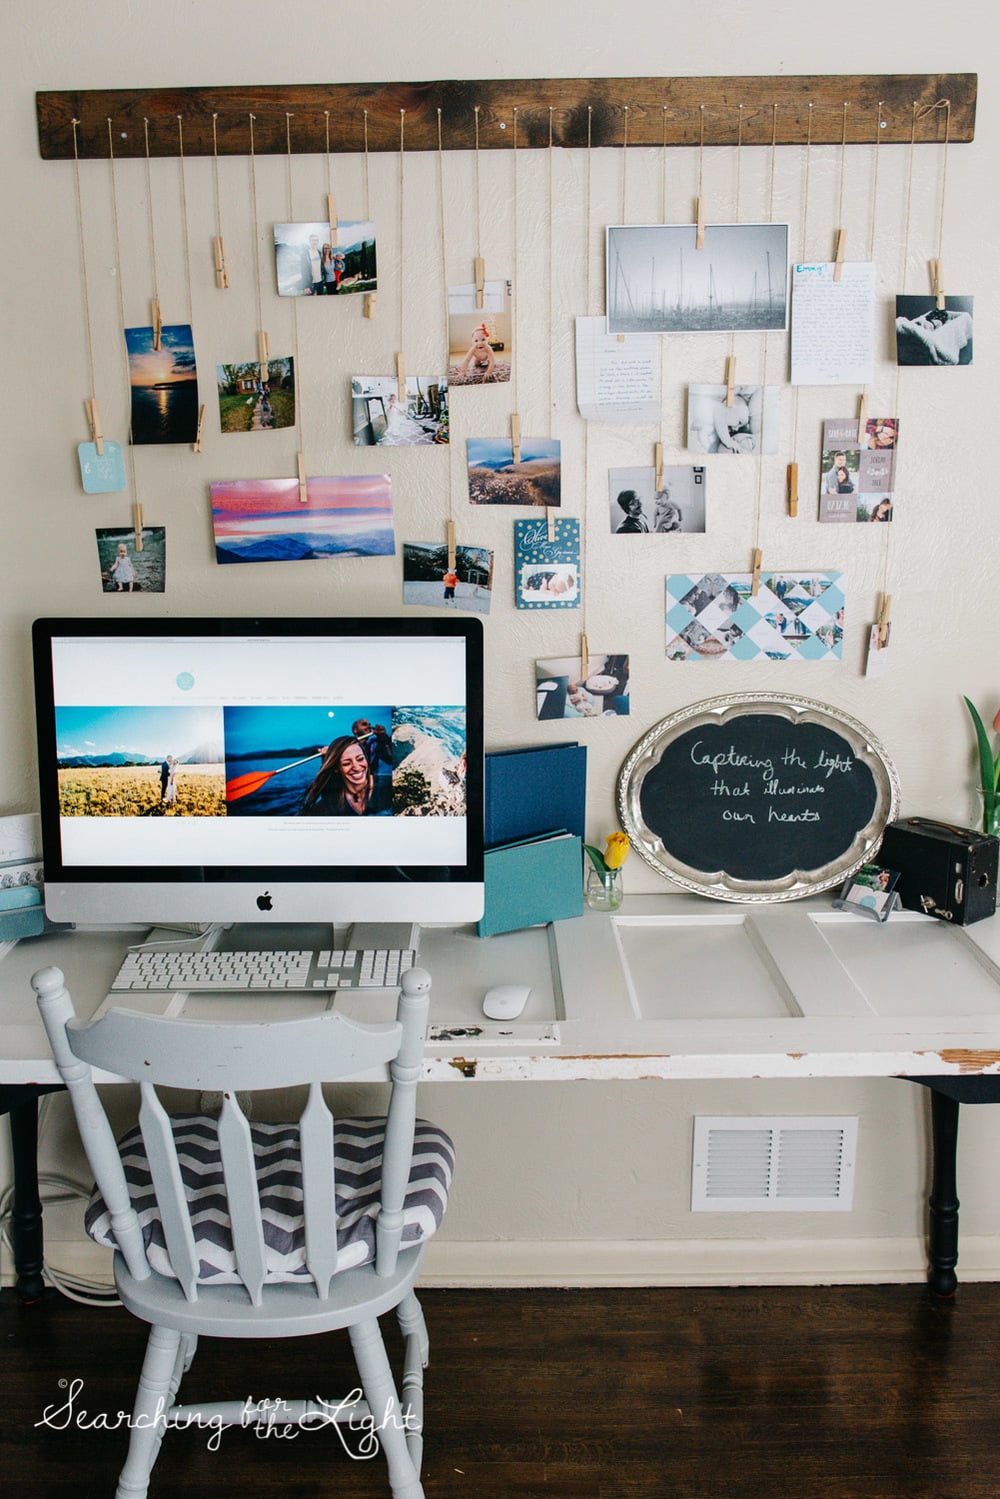
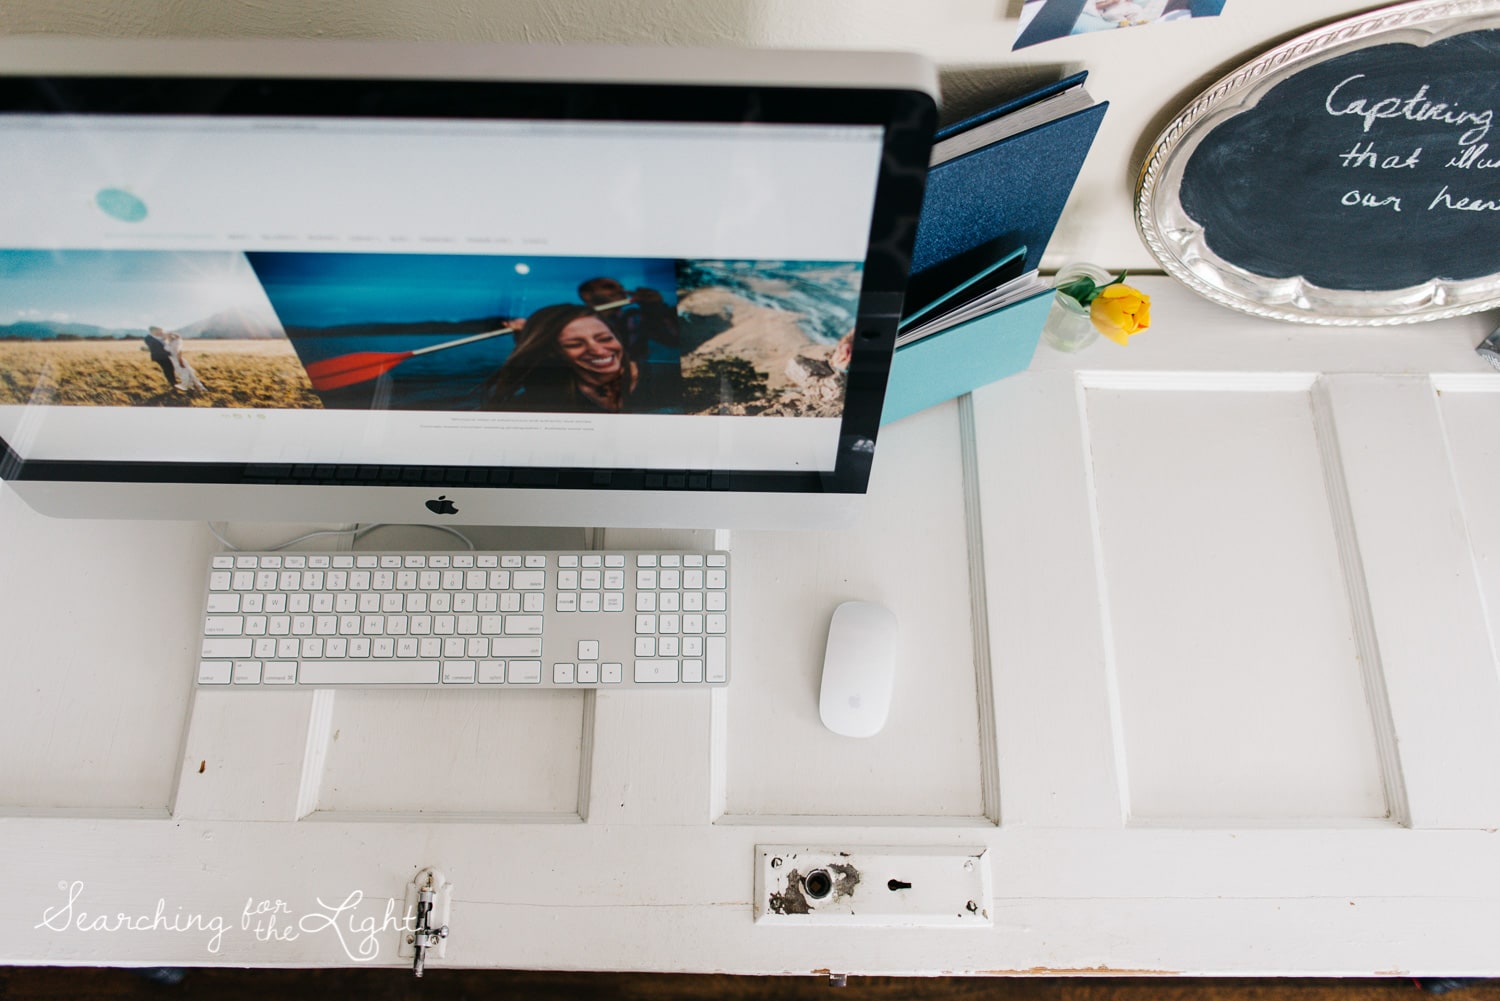
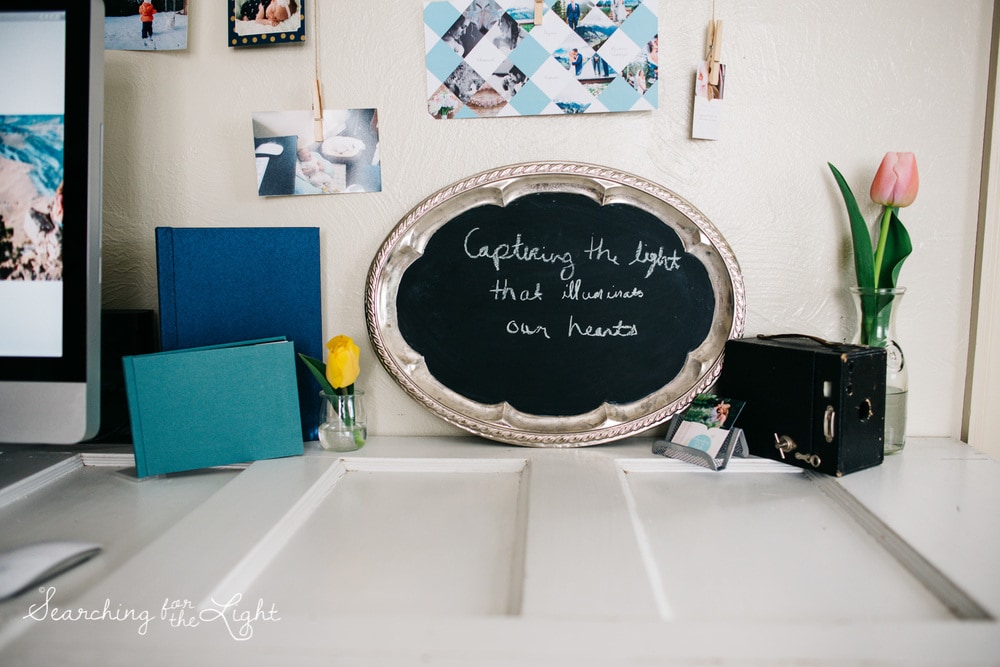
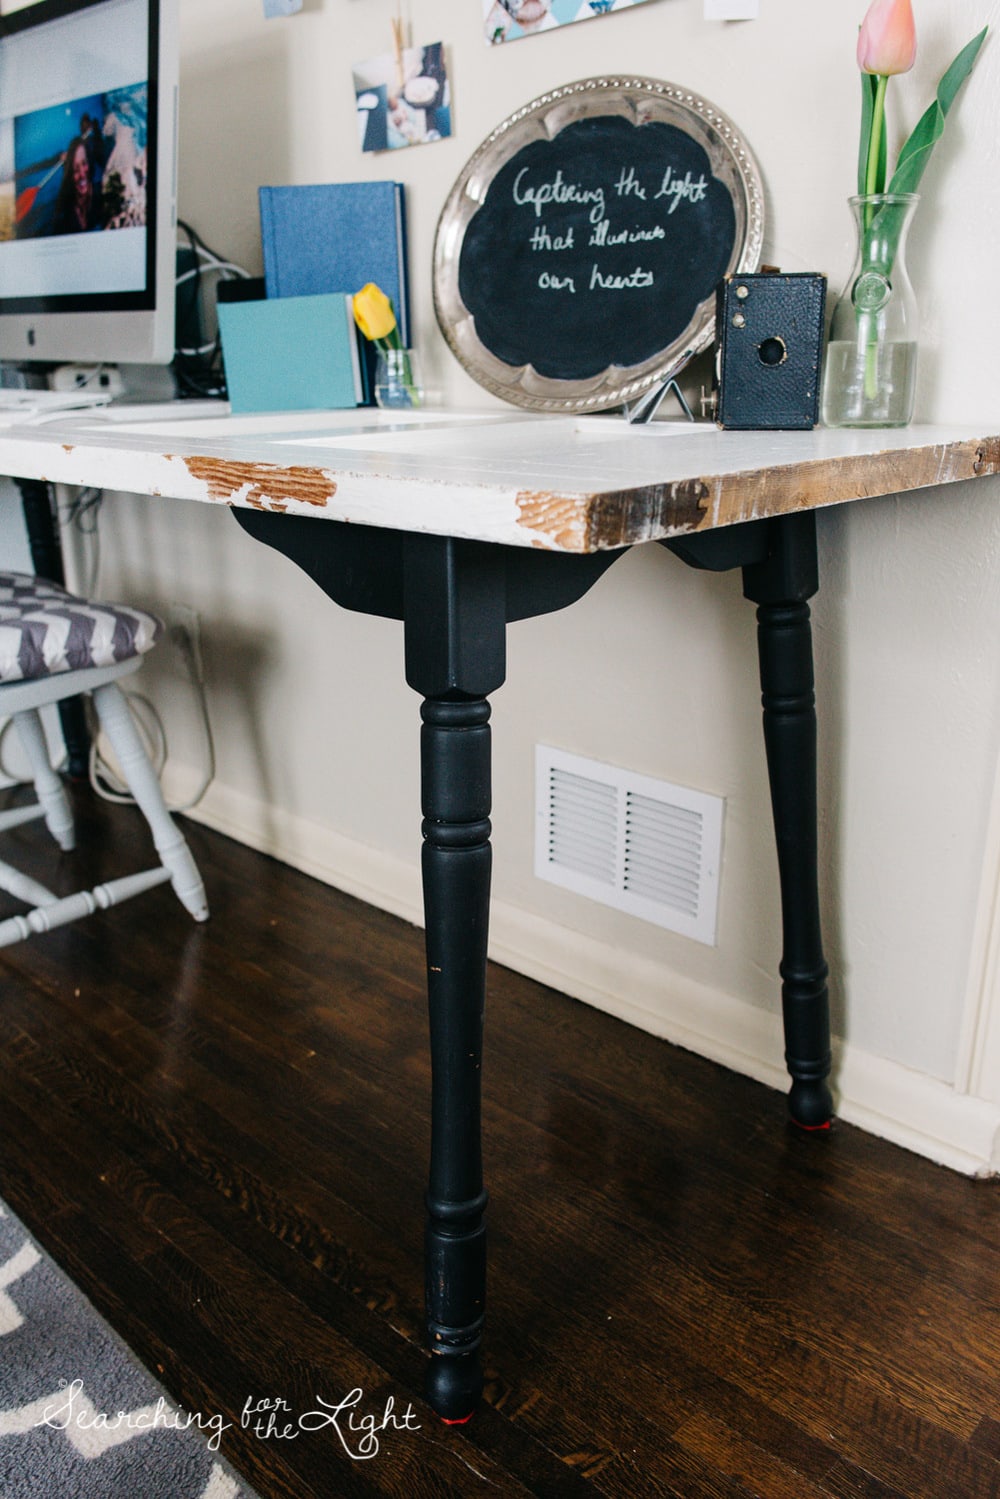
While my workspace isn’t ideal I absolutely love my DIY door desk and how it has room for my ginormous 27″ iMac and then lots more. I also adore this hanging DIY picture collage my husband came up with (which I will share next week with how to do.) I do have to admit my workspace isn’t “stylized” super amazingly it fits me and is realistic with a crazy toddler running around bumping into everything.
Today, this DIY door desk: When we first decorated our house we found two doors dirt cheap at the Habitate for Humanity outlet store that carries used or surpluse home supplies more affordable. One of them we repurposed or upclcyled to be this desk. Here are the instructions on the process.
DIY Door Desk Instructions

Materials:
- Solid wood door (tap door if it sounds hollow it’s not solid)
- Recycled solid wood kitchen table with base and legs as pictured (thrift stores will usually have a few for under $20 )
- Sandpaper or electric sander
- Paint or stain color of your choice with primer
- Electric screwdriver drill
- Sealant (if desired)
Instructions:
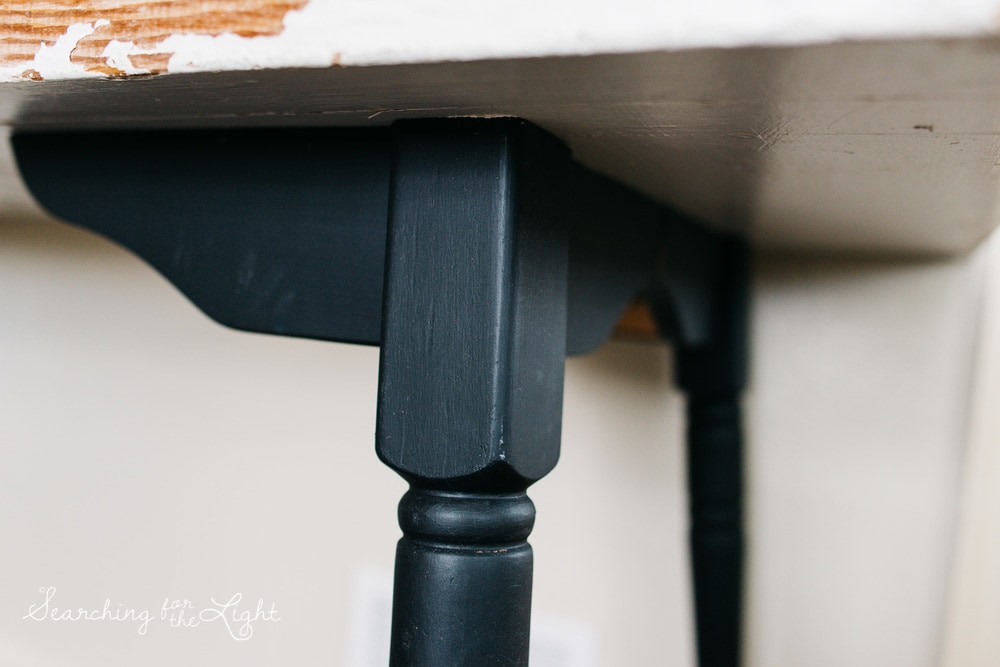
- Remove the legs and “wings” (wooden pieces that hold the legs in) from your recycled table (keep the screws and wing-nuts!).
- Clean door, legs and base with all purpose cleaner.
- Sand down rough edges on your door and table legs. Usually used furniture has some good wears.
- Wipe down all that you sanded so no particles are left behind.
- To stain instead of paint you will need to sand or remove any paint from the original door or table legs. I’d suggest talking to someone at a home improvement store for instructions on how to do this properly.
- Paint the door, legs and base your chosen color(s). We decided to leave our door with its original paint but painted the base and legs from the table.
- Let dry for 4-12 hours until paint is completely dry or how ever long the paint/stain says it will take to dry.
- Apply a second coat if necessary
- Spray with sealant if desired and let dry as directed on can.
- Decided which side of the door you want to be the top of your desk and flip upside down.
- Position the wings where you would like the legs to protrude from and mark each hole with a pencil so that you have reference points from which to drill holes in the door. Make sure the wings are lined up evenly with each corner of the door! This will affect how straight the legs look and assure your table sits evenly on the floor.
- Drill shallow holes (about ½ inch should be enough) where you have marked, then screw the wings into position on all four corners. I just used the same screws for the wings that came off the thrift store table because they were still in good shape, but new screws are also fine if they are shallow enough not to pierce through the other side of the door.
- Finally, attach the legs into their holders and secure them in place with the wing-nuts. Then, flip your table: it’s done!
Love my photography? Did you know I was a photographer, I work with lifestyle, weddings, companies and brands!


One Response